ERPLY Books
Last updated July 16, 2026
Connect CostPocket with ERPLY Books by entering your organisation's ERPLY Books email address in CostPocket's integration settings. Digitised documents then arrive in ERPLY's Purchase Inbox. Learn more about ERPLY Books.
Before you begin
Set up your CostPocket account first: Registration, Join a company, or Add a company.
Connect the integration
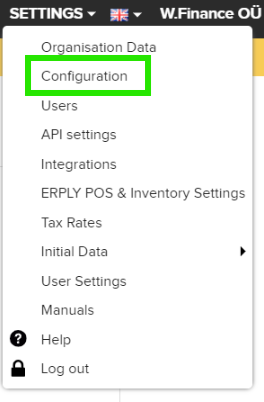
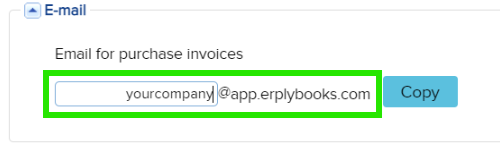
1. Find your company's ERPLY email address. In ERPLY Books, go to Settings > Configuration, scroll to the E-mail section under General Settings, and click Copy.
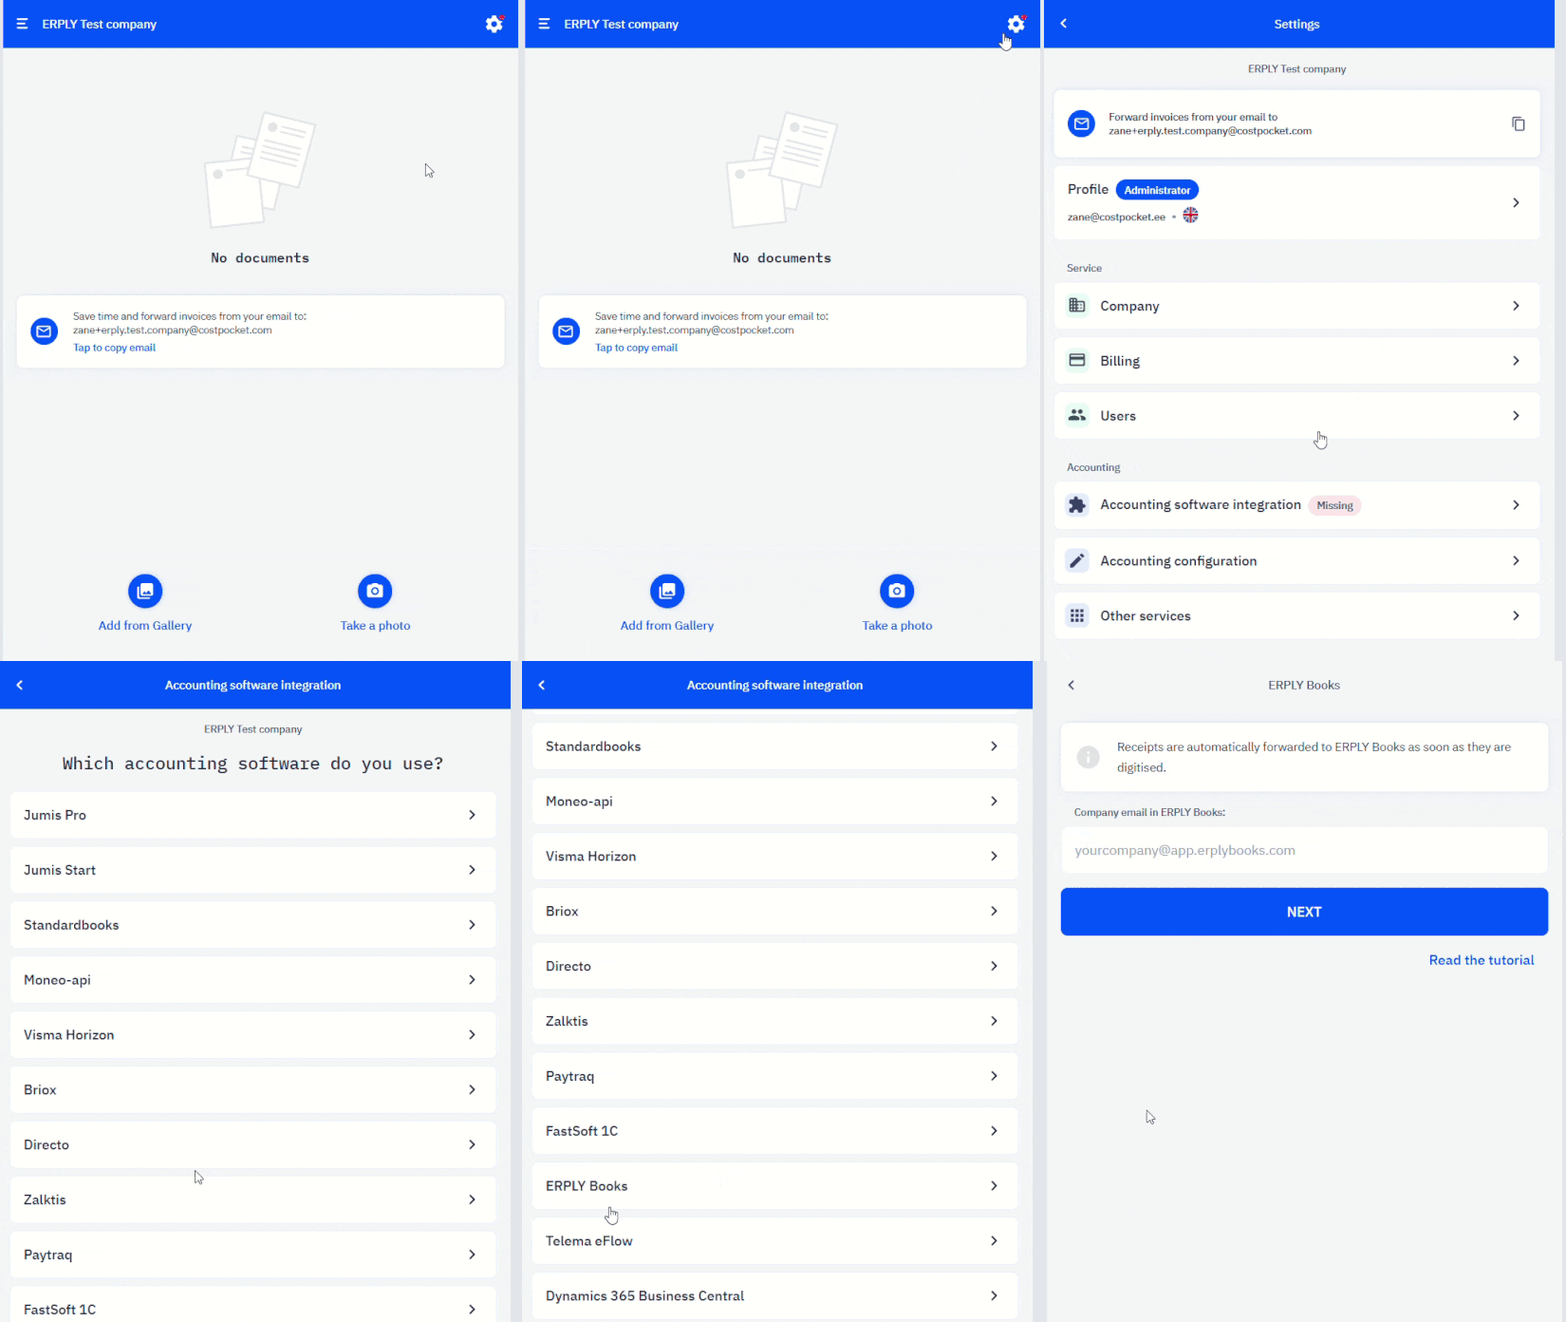
2. Add your ERPLY email to CostPocket. Go to CostPocket app Settings > Accounting software integration > ERPLY Books and paste the email address to complete the integration.
How documents flow to ERPLY Books
Send documents one by one (invoices and receipts) or as expense and travel reports:
- How to submit receipts and invoices
- Submitting expense, travel, and mileage reports
- Submit documents by email
Where to find documents in ERPLY Books
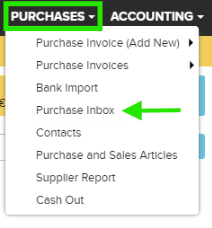
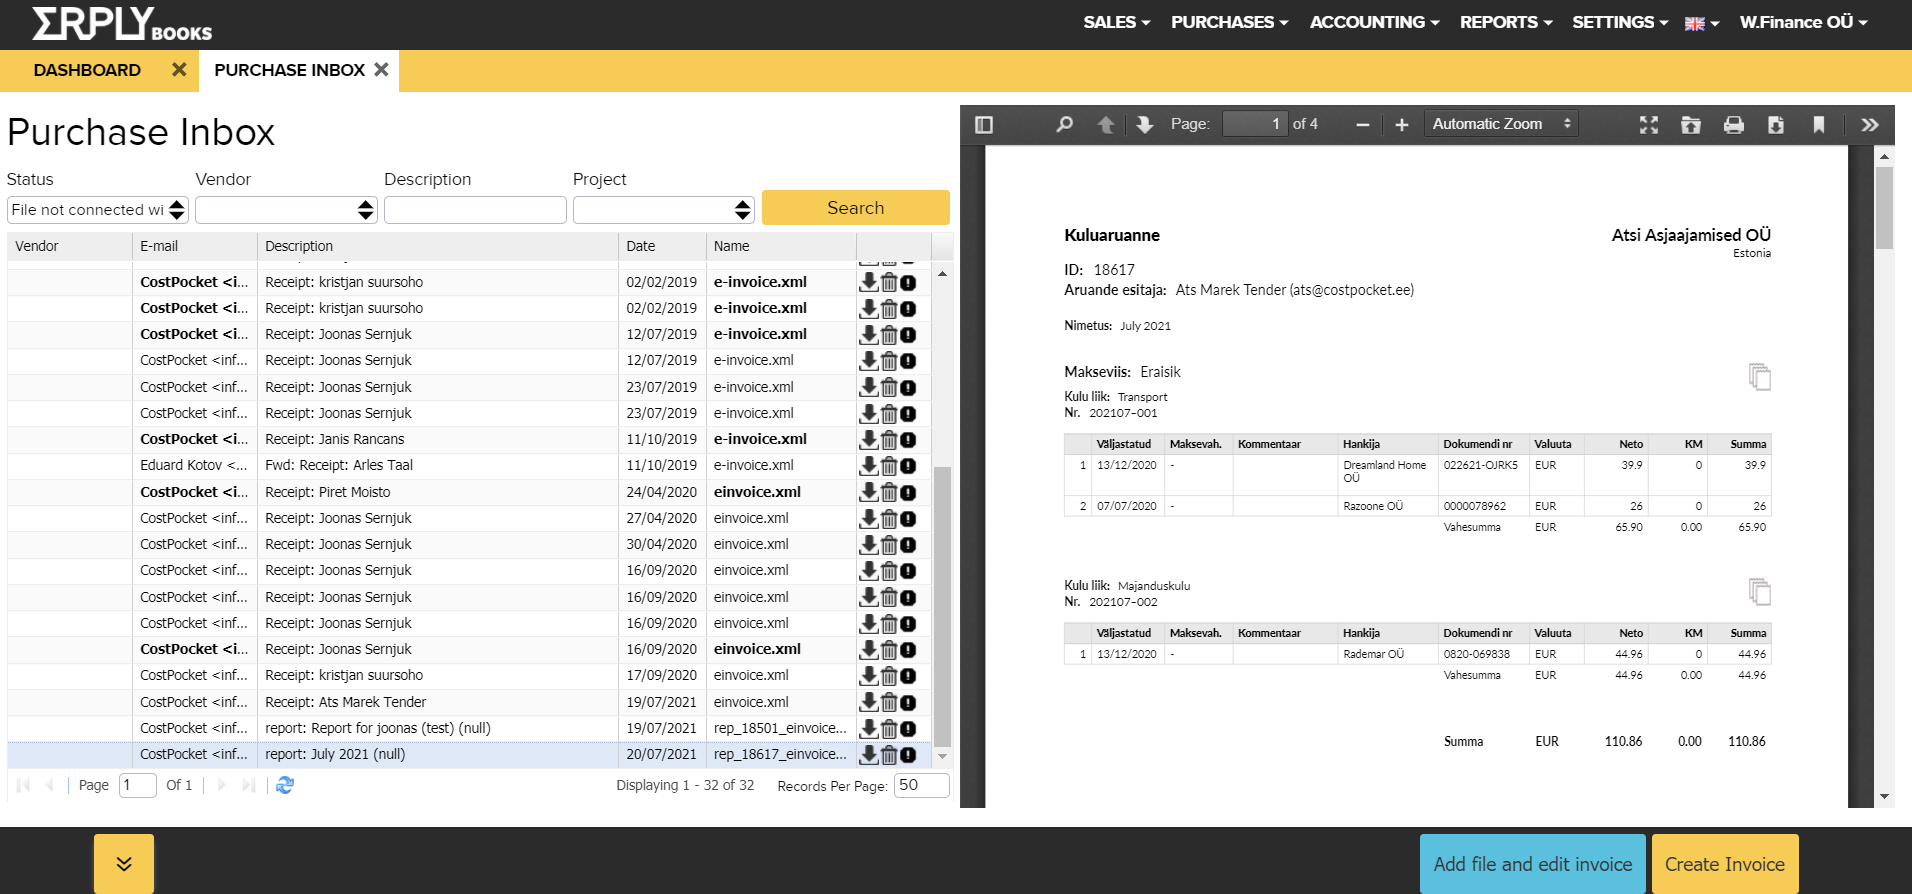
- Go to PURCHASES > Purchase Inbox.
- You'll see the list of submitted documents. Click Create Invoice to turn a document into an accounting entry.
Frequently asked questions
Which email address goes into the integration setup? Your organisation's ERPLY Books address from Settings > Configuration — not your personal login email.
Do documents become invoices automatically? They arrive in the Purchase Inbox for review; click Create Invoice to convert each into an accounting document.